In the next few years, the annual sales in the DIY market could surpass $14 billion in consumer spending. With the wide variety of DIY tutorials available online and the low cost of project supplies, most people can complete complex projects in a weekend afternoon. If you’re looking for ways to weatherize your home, you might even find DIY spray foam insulation to be a cheap solution that you can do yourself.
With the majority of energy costs spent on heating and cooling homes, added insulation can keep in heat during cold months and cold during hot months. A poorly insulated or drafty home could cost significantly more to cool or heat every year.
If you’re interested in taking matters into your own hands, DIY spray foam insulation can protect your home and save money. Here are 6 things to remember when you get down to business.
1. Be Prepared
Spray foam insulation can let off fumes and damage your clothing. Make sure you’re wearing the proper mask and clothing cover.
Cover your windows as it can be hard to remove insulation from glass once it dries.
You should also make sure that wherever you’re about to spray is completely dry. High humidity will keep your foam from sticking to surfaces.
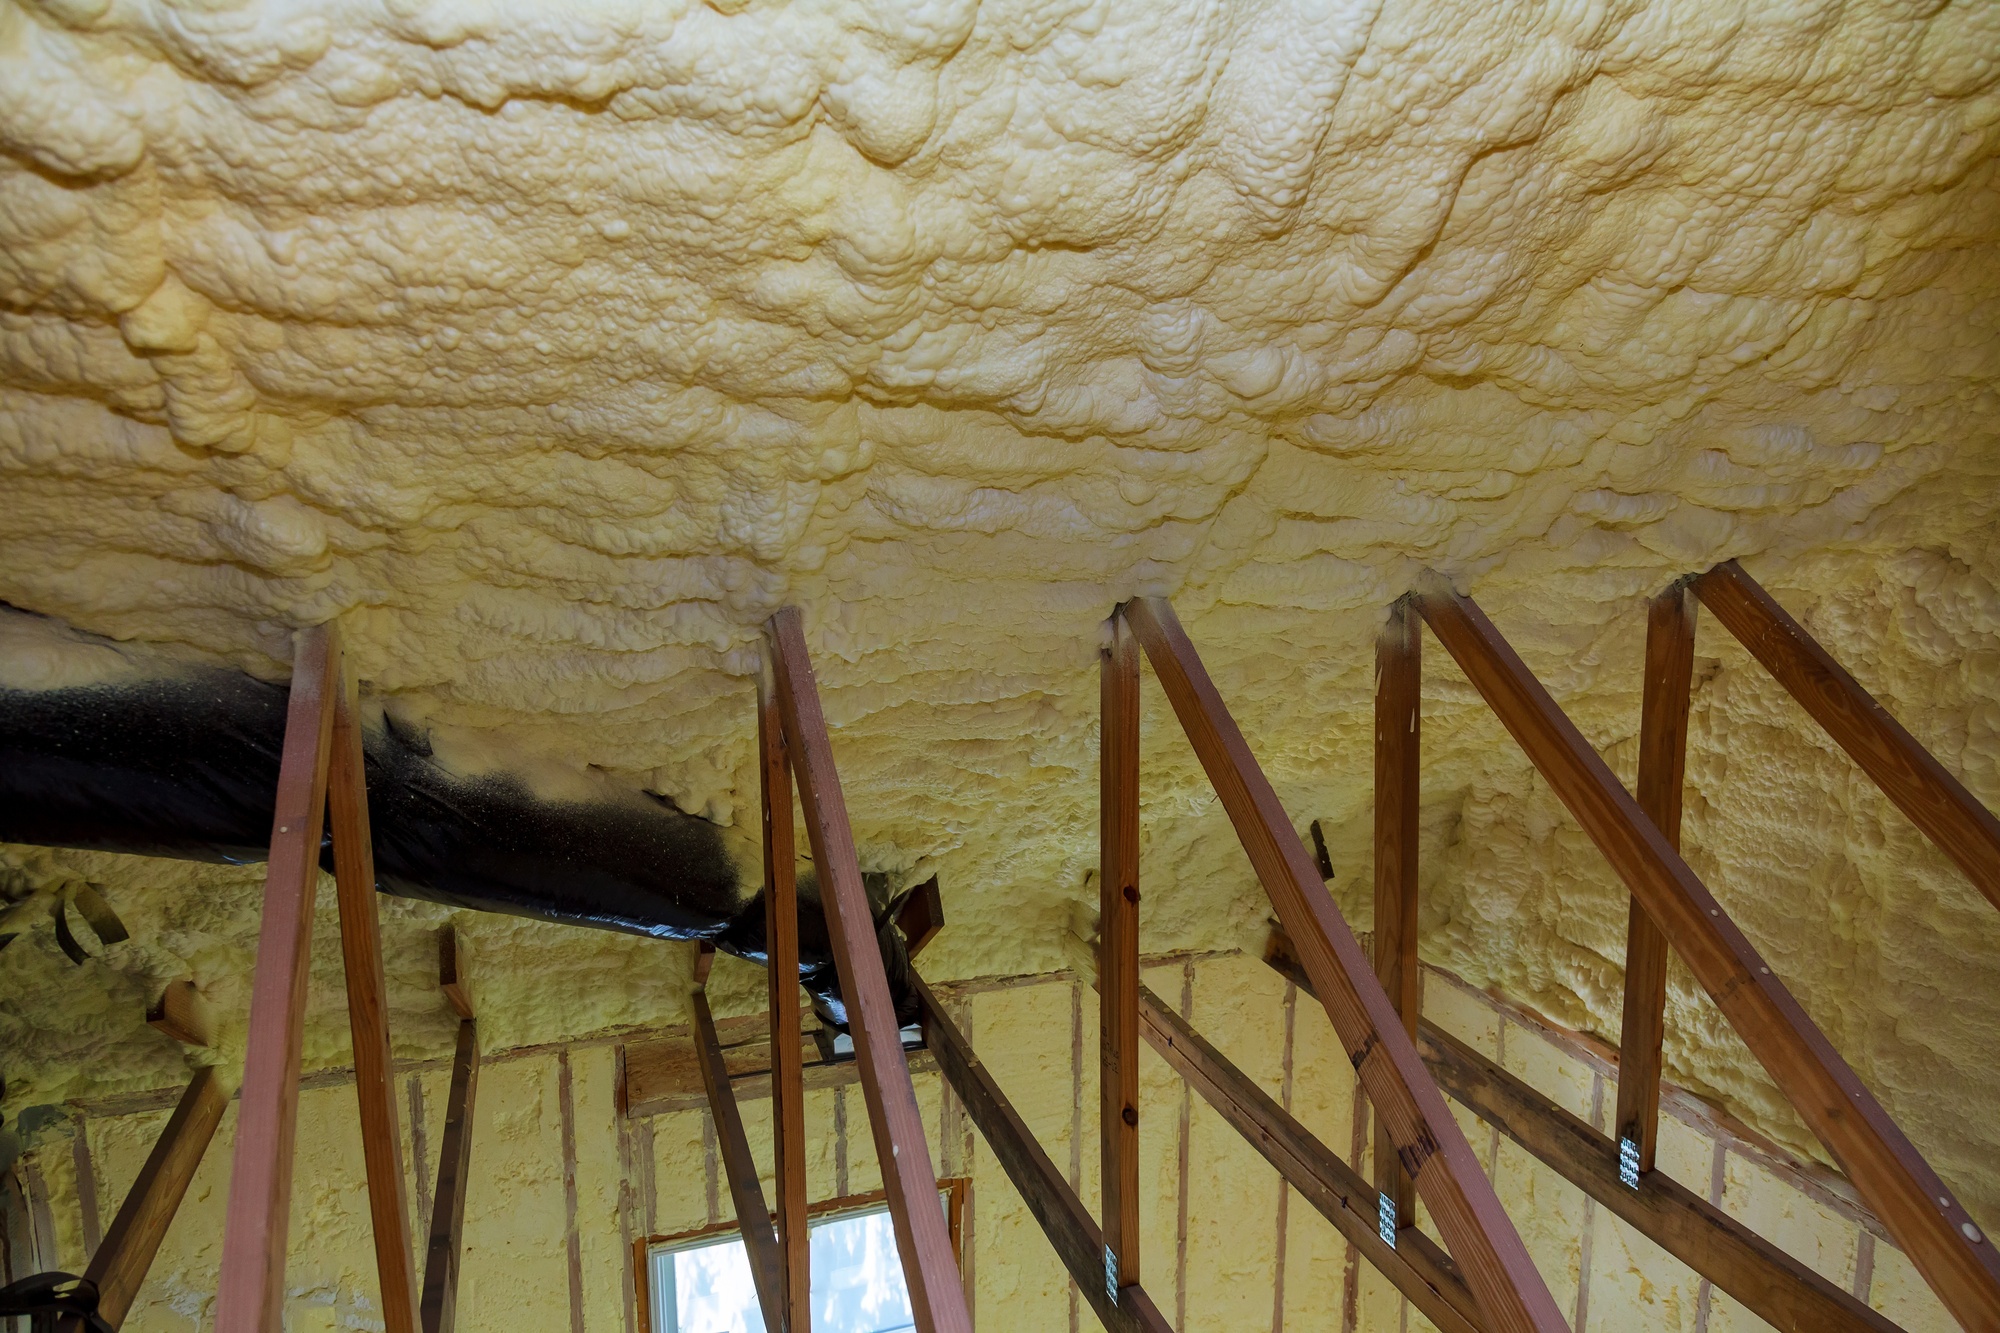
2. Start With The Frame
Before you fill in your walls, go along the edges and make a layer around an inch thick. This will cause a lift and ensure that the foam gets into the area where the stud meets the sheathing.
If you skip this step, you could end up causing the pressure of the foam’s expansion to push out any sheathing that’s not perfectly secure. Let the foam dry for a few minutes before filling in the area.
3. Wait Between Layers
You’ll be spraying many layers or “lifts”. If you spray a lift too quickly, it won’t cure correctly and will lower its impact.
Keep your layers around two inches at a time to allow for adequate drying. Every company has their own recommended lift. Tiger Foam spray insulation recommends only two inches at a time.
4. Don’t Forget The Rim
Use a foam sill sealer to get between your bottom plate and the wall of your concrete foundation. If there are gaps between the wood, concrete, or sill sealer, there can be gaps that allow air and bugs and rodents to get in. Add a two-inch lift on the bottom plate and concrete for extra safety.
5. Add Fiberglass
Combining spray foam and fiberglass insulation will add extra protection. Simply spray a single layer of foam and then fill in the space with fiberglass. You can save money and still benefit from the powerful effect of spray foam.
DIY Spray Foam Insulation Saves Money
By installing your spray foam on your own, you’ll save on expensive contractors while learning a valuable skill. You’ll know more about how your house is built and see problems before they become costly.
While you’re thinking about sealing your home from things getting out, check out our list of tips on how to keep burglars from getting in.