If you’re wanting to improve your digital photography skills, specifically when it comes to photo editing, then look no further than Adobe Lightroom. With over 3 billion photos being shared online every single day, you’re going to want your images to look their absolute best.
Though it can appear complicated and intimidating at first, once you get the hang of lightroom editing, you’ll never want to work with another editing program again.
So let’s dive in. If you want to know more about editing in lightroom as a beginner, follow this guide for the best tips to get you started.
Begin by Organizing
Lightroom requires you to manually import photos into the editing software. Even if they’re already on your computer they won’t automatically transfer over. Regardless if you’re using Lightroom on a desktop or mobile device, you’ll be able to upload photos simply by selecting ‘Import’ and choosing which photos you want to add.
The best feature of Lightroom is its image capacity. It’s able to hold thousands of photos and gives you the option of creating multiple folders for optimum organization. If you want to know the exact location of a selection of photos, try flagging them or simply give them a five-star rating. It’ll make them easier to locate later.
Shooting in RAW instead of JPEG will always benefit you in the editing stages, as this format allows you to capture more detail and improve your overall image quality.
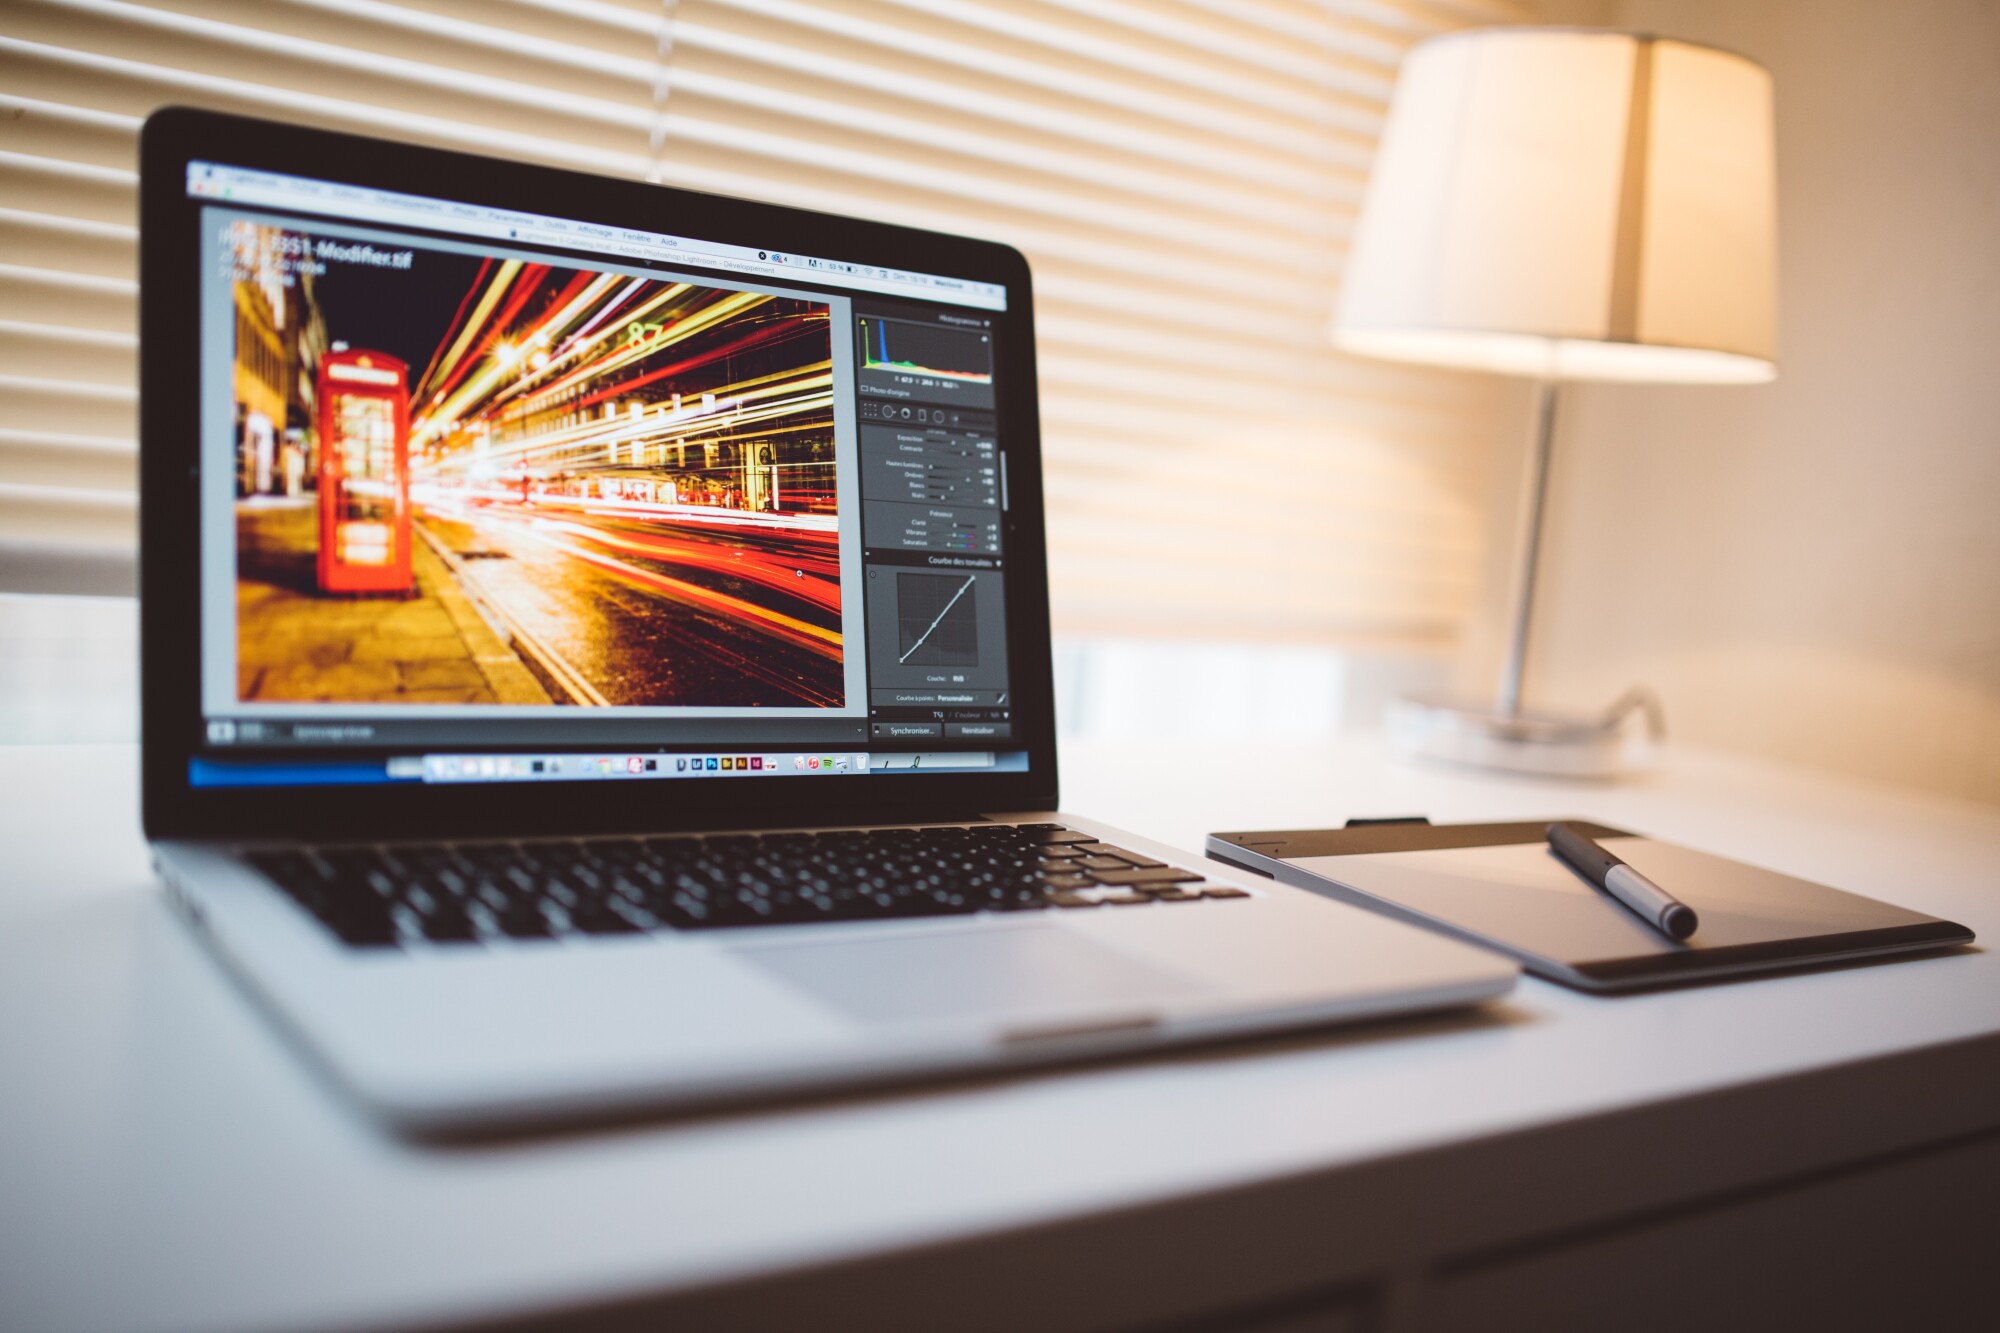
Editing Your Photos
Once you’ve selected a photo to edit, start by experimenting with your white balance. By tackling this first, you’ll better determine the correct colors as you proceed. This is more important in portraiture as skin tones are so varied.
After you’ve attempted the basic editing options, you may find you’re just not able to achieve the desired look you were hoping for. In that instance, you’ll benefit from a preset. Preset are essentially filters that have specific pre-saved settings, which can transform your photos and save you time editing.
To see which type is best for your photography style, click for more on presets.
Exporting to Your Device
The exporting process is simple, just tell Lightroom where you want your photos to end up. You’re able to export files easier even if you’re concerned about resizing images for emails or social media.
For high-quality photos, make sure the resolution is at least 300ppi (pixels per inch) so if the images are printed, they won’t appear blurred or distorted.
If you want to post to social media, select ‘Resize to Fit’ and limit image resolution to 1080p for the best results.
Are You Ready to Get Stuck Into Lightroom Editing?
Now you’ve learned the basics of Lightroom editing, you’ve opened the door to a whole different world of image processing.
Getting used to the software takes time, there’s a lot to figure out and experiment with. Don’t be afraid to play with the settings, there are always online tutorials to refer to if you’re having any editing issues.
For more related articles, check out our other blog posts.