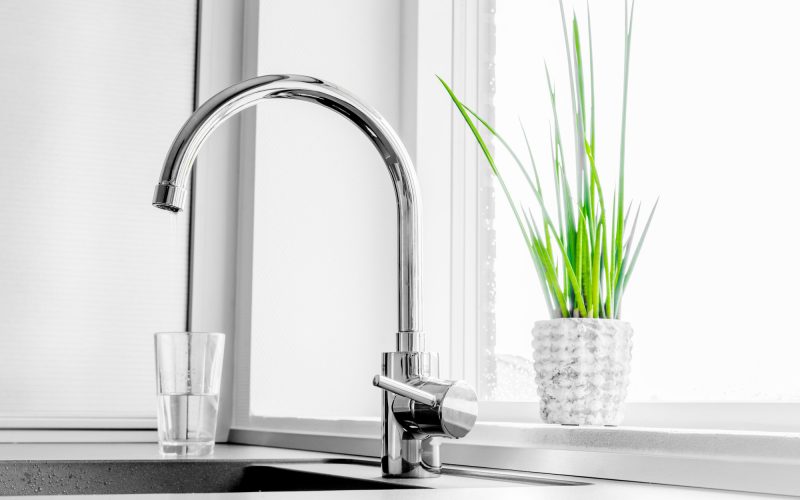
The DIY home repair market has now reached upwards of $17 billion a year, with no signs of slowing down. With this kind of action, people are taking on more complex repairs than simply painting walls and replacing light bulbs. Knowing the basics of kitchen faucet repair can save you hundreds of dollars and make you feel empowered for bigger projects.
It might seem daunting if you’ve never done any kitchen repair work before, but it’s pretty simple. If you’re dealing with a leaky faucet, follow these 3 steps to fix it fast and cheap.
1. Prepare
If you’re an organized person, start off this project in an organized fashion. You need to do a little bit of prep work before you fix your sink. Make sure you shut off the water supply and drain the line so you don’t make a mess while you’re working.
You also need to get your tools together. You’ll need a set of hex keys, some screwdrivers, and a strong adjustable wrench. Make sure you have both large and small flathead screwdrivers, as you might need to do some prying with the large one.
Lastly, make sure you cover the drain with a rag or a cloth. You don’t need your components flying off and ending up inside your sink.
2. Try Simple Solutions
There could be simple solutions for your leak. If your biggest issue is just a drip or a small leak, your knobs might have come misaligned. When you turn your knob to the off position, it might not be shutting the valve off completely.
Start by taking off the knobs, tightening the valve, and see if your problem is solved. If you need further solutions, you might have to dig in a little more.
3. Try The Harder Solution
Take off the knobs again and then remove the faucet handle. Loosen any nuts around the base of your assembly. Be firm but gentle as your remove the faucet arm and assembly.
Take off the stainless steel ball that is part of the faucet body.
Take off the rubber seats and springs. If they look deteriorated, you might need to replace them. In most cases, they just need to be cleaned. Put in new rubber seats and springs if necessary.
Replace the ball and make sure it’s aligned. Add a new rubber gasket and a cam cap to the assembly and then tighten the cap back over the faucet.
Assemble everything by hand and then use your wrench to tighten all of the nuts you loosened.
Reassemble the handles and then open up your valves. Remove the cloth covering the sink and let it run.
If it continues, you might need to call a professional. If you need parts, check out what Allstar Appliance Repair has to offer.
Kitchen Faucet Repair Is a DIY Cornerstone
Knowing the basics of kitchen faucet repair will prepare you for any other kinds of repair in your home. While you might not be ready to take on major electrical work, you’ll know first-hand that most repairs are simple and minor. You’ll get an understanding of how things work and which simple solutions can fix them.
If this is part of an effort to feel more self-confident, follow our guide for more tips on how to improve your perspective.
